Biotic Instruments App
Using the App
The Biotic Instruments app is needed for initial setup of any new device. It enables users to program and automate Biotic Instruments devices, as well as set and plan for long-term plant health.
Initial Setup
Installing the App
iPhone users can download the app from the App Store. Android users must temporarily email info@bioticinstruments.com for installation instructions.
After signing up, you have 24 hours to confirm your email address. If you do not confirm within this timeframe, your account will be disabled.
Adding a Device
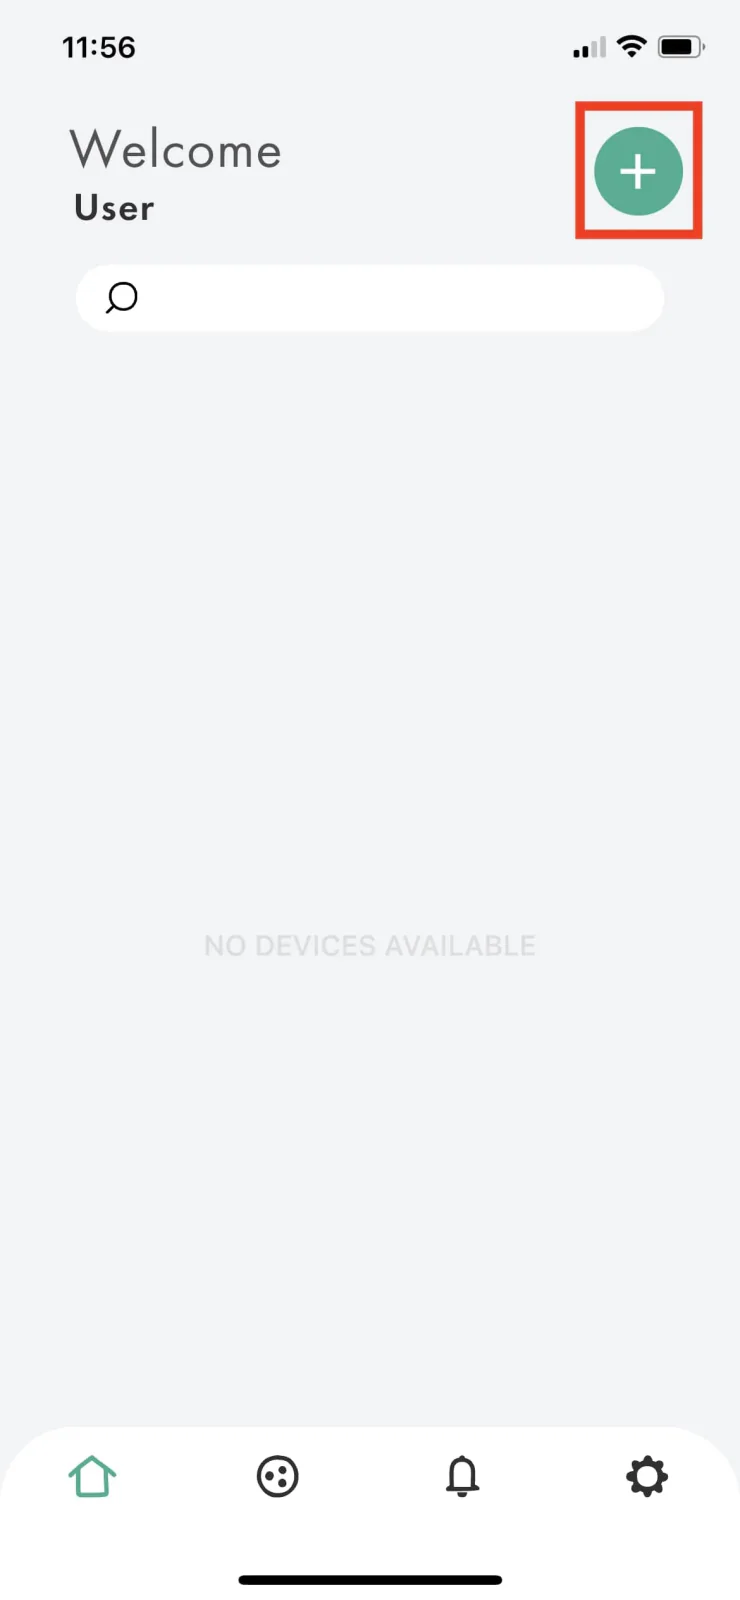
Confirm the LED indicator on the device is pulsing blue. From the Home screen, tap the Plus icon in the top right corner. Scan the QR code on the device with your smartphone's camera, or enter the serial number printed next to the QR code.
Cloud or Bluetooth?
Cloud Mode
RecommendedConnects via WiFi for remote access, real-time data logging, and multi-device management. Required for timer scheduling and activity log features.
Bluetooth Mode
Local onlyOnly one smart device at a time can connect when the device is set to Bluetooth mode. Required for firmware updates. No internet needed.
Configuring Your Device
Rename your device. Tap the Pencil icon in the top right corner of the Device screen to edit the name at any time.
Add a photo. Tap the "ADD A PHOTO" icon to replace the default icon with a photo from your camera or library. The best practice is to show the device within its space — step back to capture the location rather than taking a close-up.
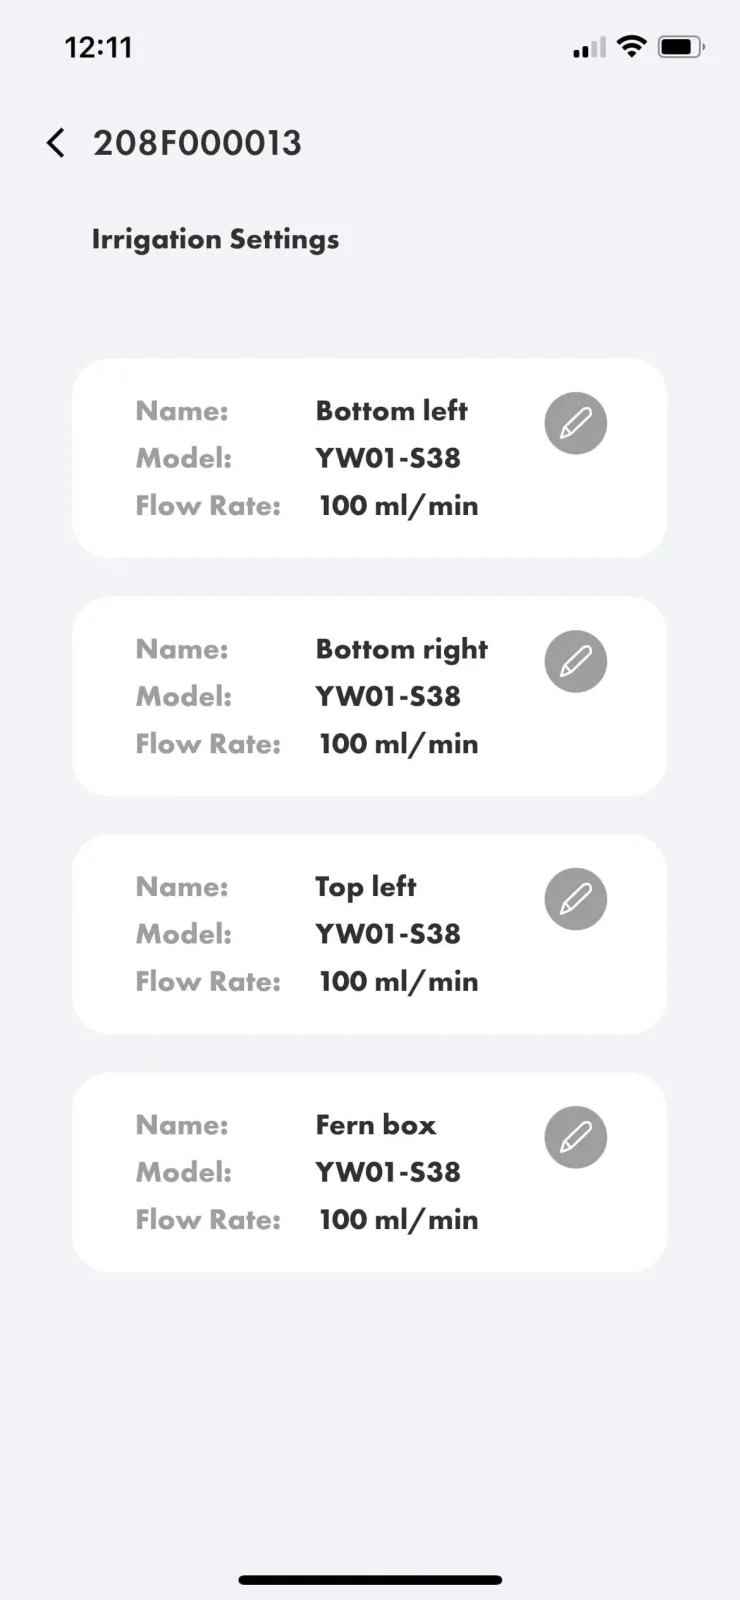
Name your outputs. Clear naming conventions make it easier to track pump outputs and reduce the likelihood of accidental timer settings, which can cause over- or under-watering.
Device Page
Timers
Set automated irrigation schedules per zone in minutes and seconds, with a maximum of 30 minutes per run. Recommended starting points:
Increase timing incrementally. An extra minute on a two-minute timer is a 33% increase in water — a significant adjustment. Use the recommended settings above as a starting point only, as ambient light and temperature affect plant water uptake.
One-shot timers activate immediately for a chosen duration without affecting your regular schedule. Use them when boxes are slightly dry and need a quick boost of water, or to run the remaining lighting schedule after the Green Divider has been unplugged.
Disabling a timer. Press the toggle to the right of the timer. This disables it until reactivated.
Deleting a timer. Open the timer page and select Delete This Schedule in the bottom-left corner.
Notes
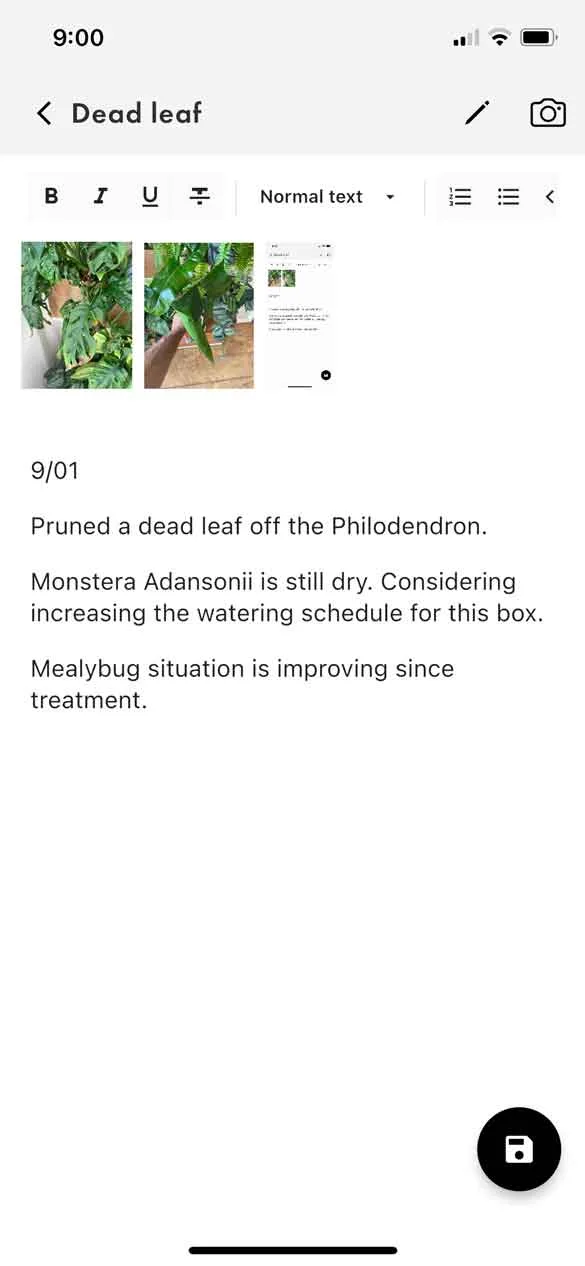
Add maintenance notes to any device with optional photo attachments. Particularly useful for tracking changes when multiple people service the unit. Any site-specific information can live here as well.
Notes
Activity Log
The Activity Log contains all system runtime data. Reviewing historical data helps understand plant care requirements and plan service schedules — different plant types and sun exposure affect water needs.
Summary tab
Custom date range selection with total runtimes for all outputs. Estimated Water Usage is calculated based on the flow rate set in Irrigation Settings.
Activity Log tab
Chronological list of all activity reported by the device.
Network Mode
Switch between Cloud and Bluetooth mode from this page. Cloud Mode is recommended — it connects via WiFi and enables full app functionality and remote access. Bluetooth Mode is useful when WiFi is unavailable. Bluetooth Mode is required for firmware updates and only allows one smart device to connect at a time.
Settings
Notifications. Toggle push notifications for device connection status (online/offline), water sensor triggers, and new firmware availability.
Irrigation. Name your irrigation outputs and adjust pump names and flow rates on configurable devices.
Firmware (Bluetooth Mode only). Update firmware from this screen when a new version is available. Keep your phone near the device throughout the update — interrupting the process may cause issues.
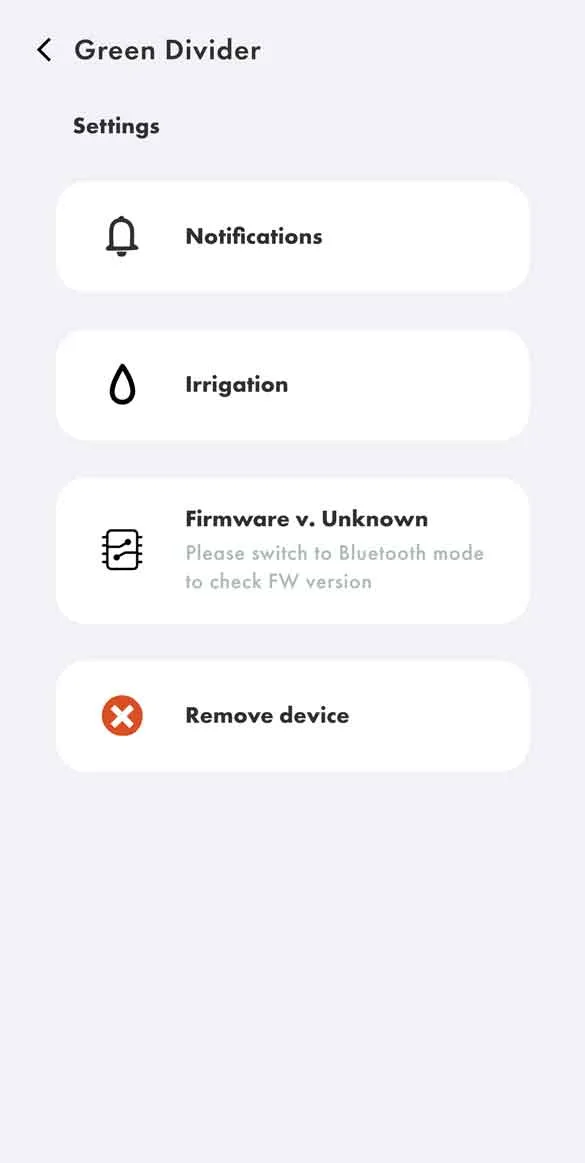
Settings
Groups Page
Organize devices across locations into Groups. Sub-Groups support nested organization — useful for multiple devices across multiple floors at a large site.
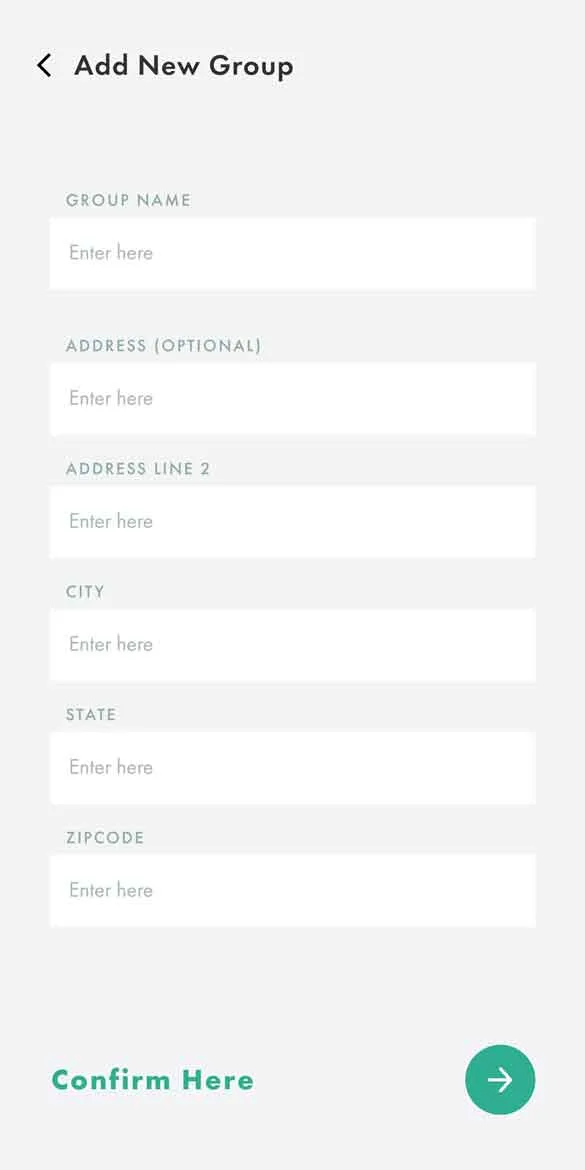
Add a New Group
From the Groups page, tap the green Plus icon in the top right. Enter a group name and optional address, then press Confirm Here.
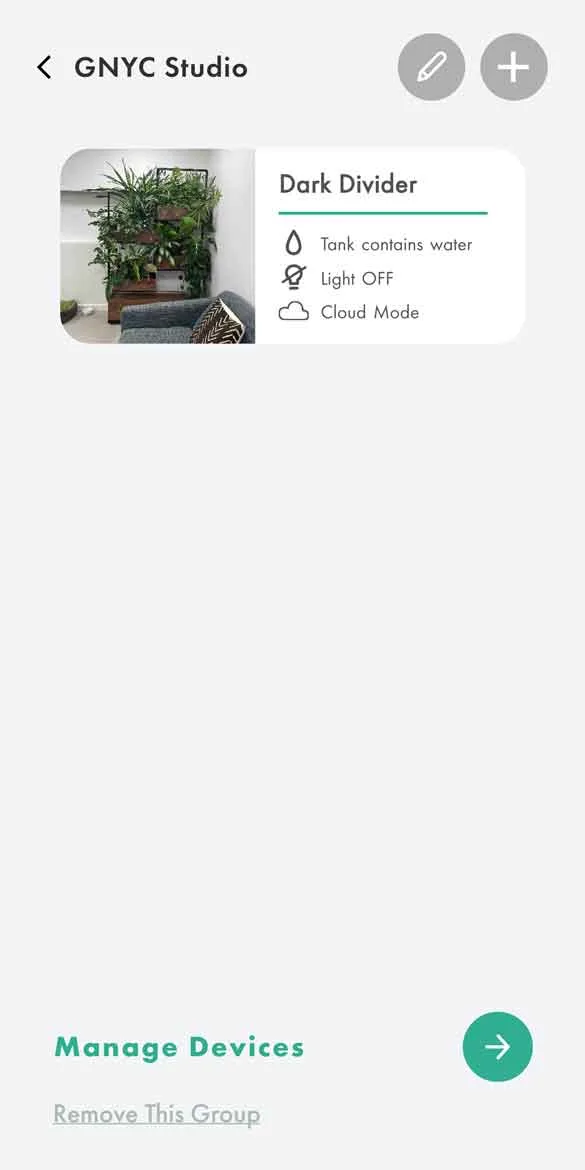
Add a Device to a Group
Select the Group, tap Manage Your Devices at the bottom of the screen, select the devices to add, then press Save.
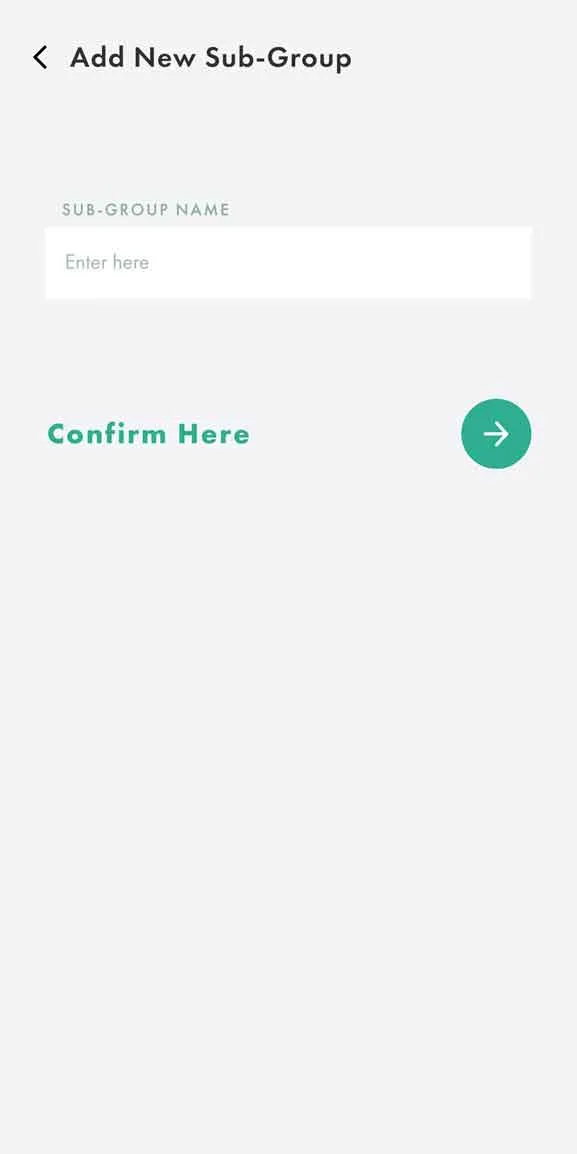
Add a Sub-Group
Select the parent Group, tap the grey Plus icon in the top right, select devices to add, then press Confirm Here.
Account Page
Access your account details, manage your subscription, and sign out from the Account Page.